Bread
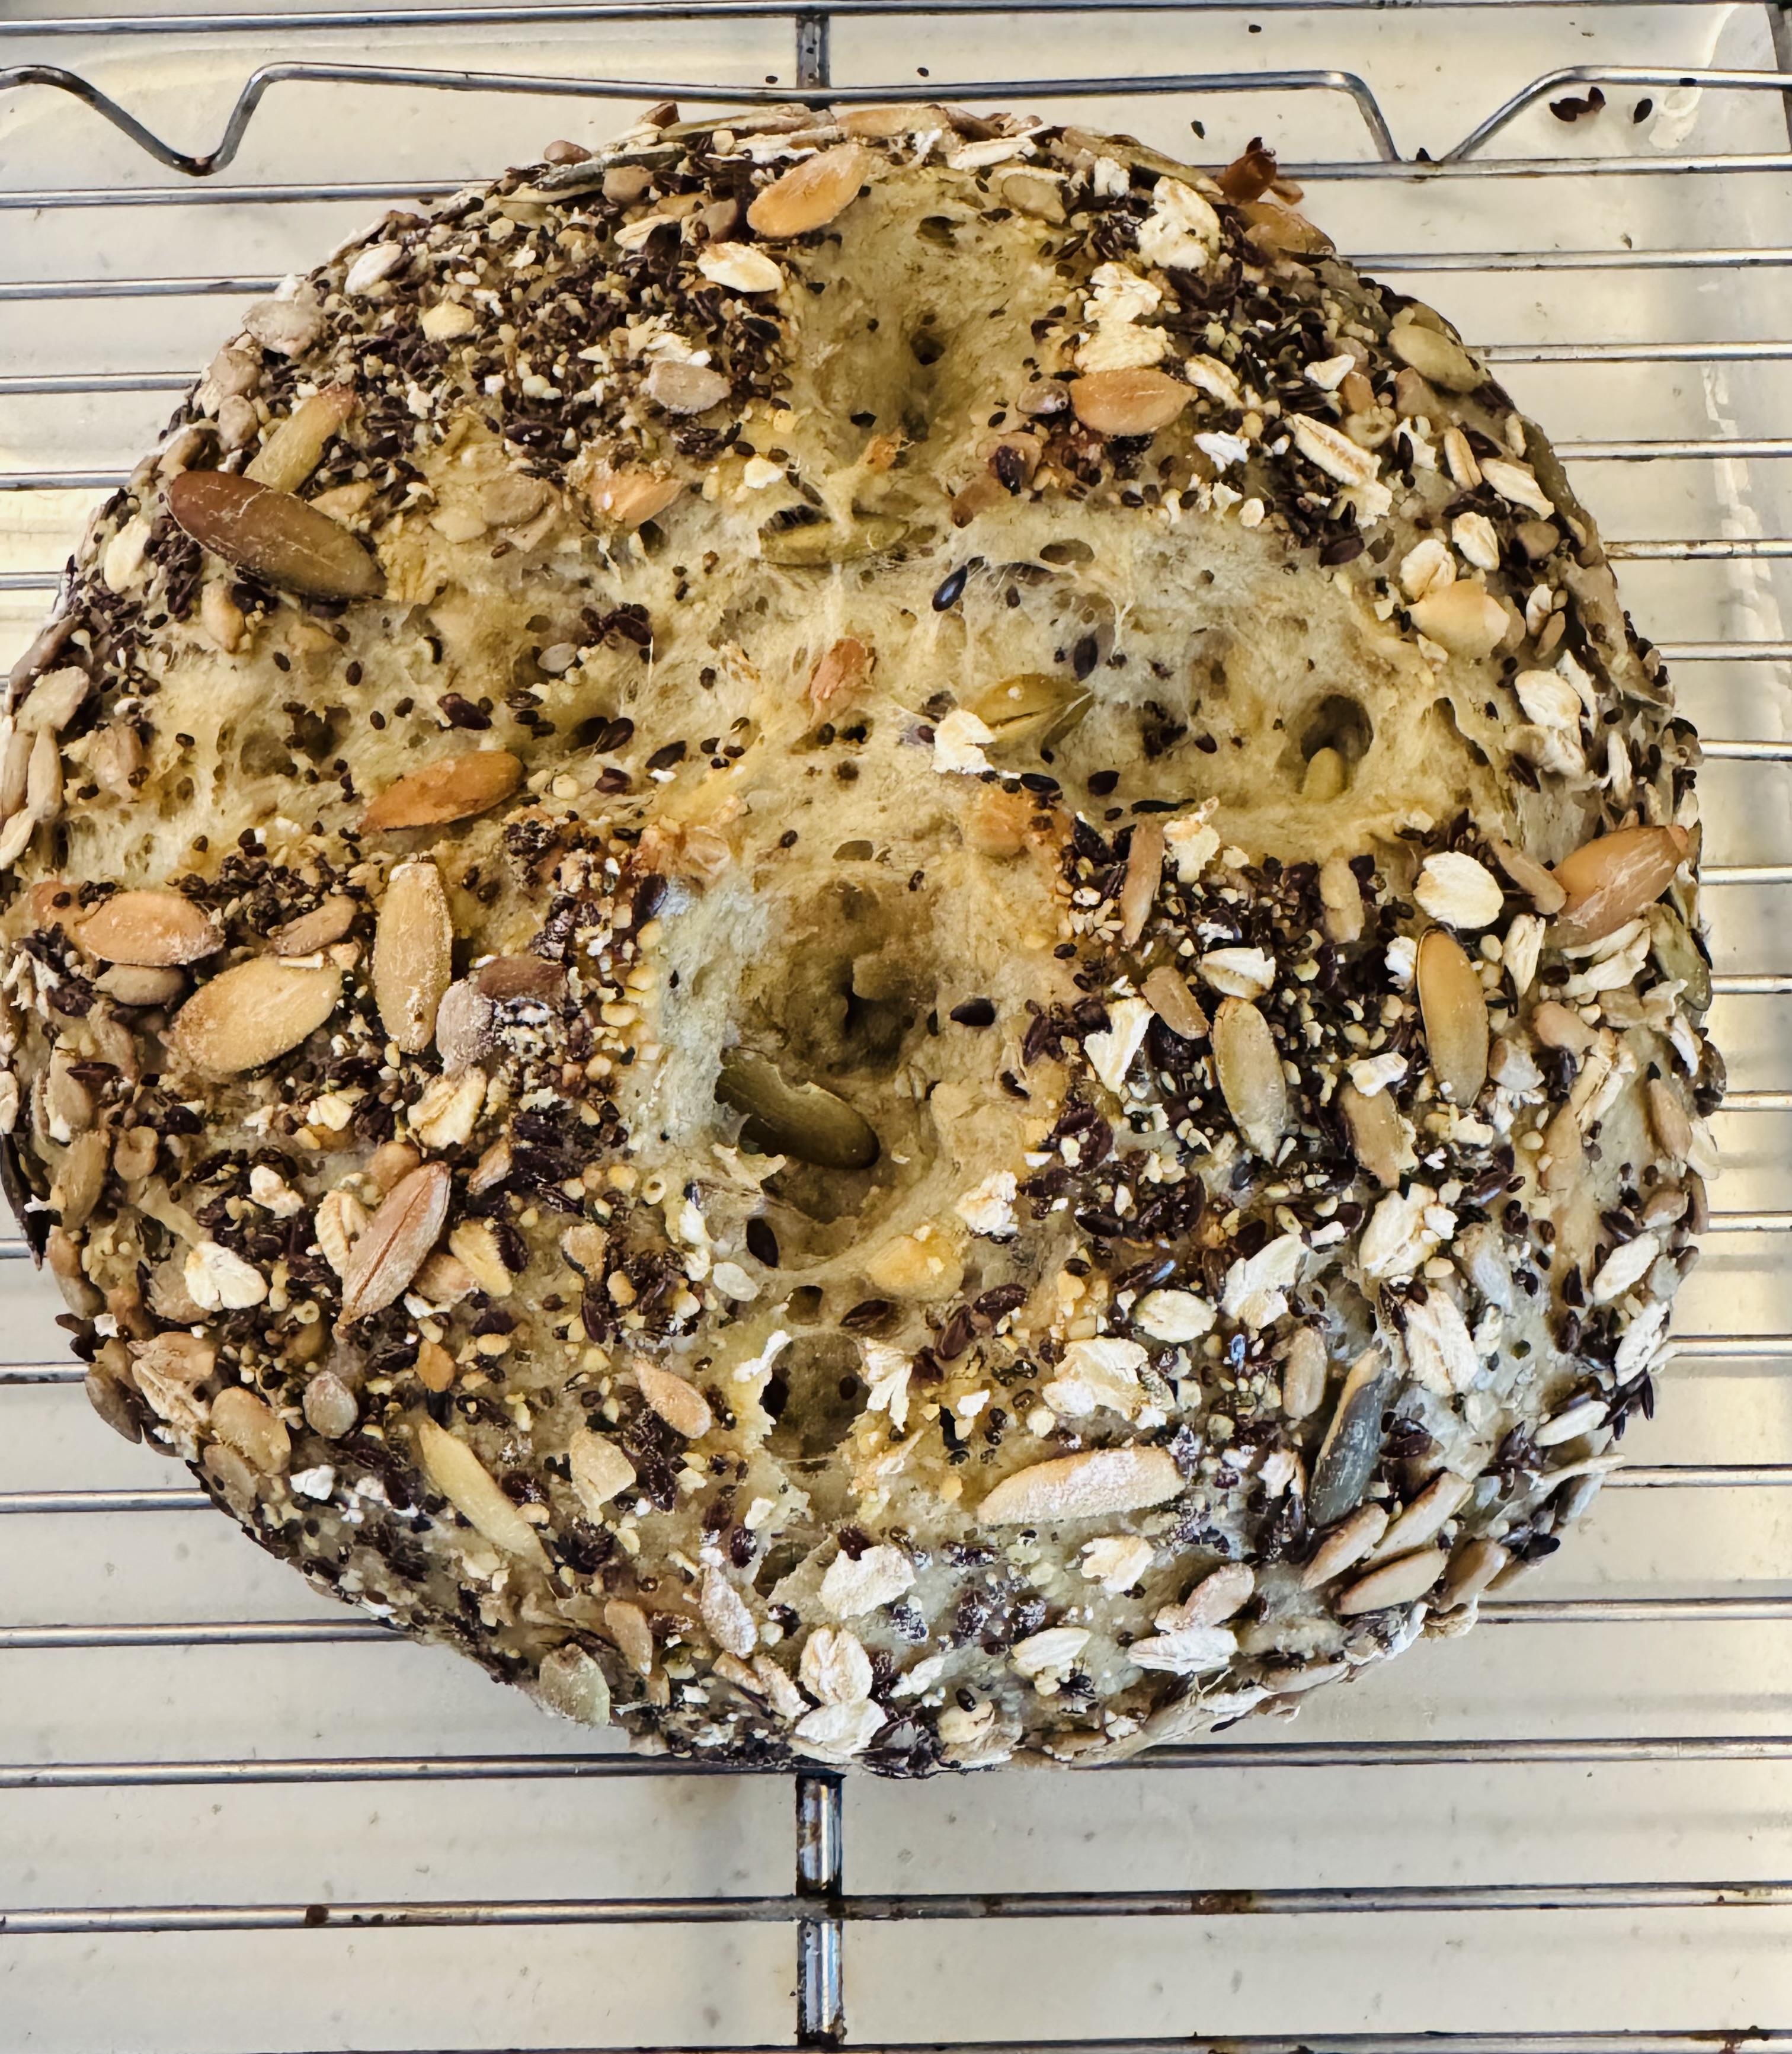
Seed Loaf
- Prep
- 10 min
- Cook
- 45 min
- Stand
- 24 h
- Total
- 24 h 55 min
- Serves
- 1
Ingredients
Dough
- 3 cupsBread Flour
- 2 teaspoonsInstant Yeast
- 1 Cup Rolled Oats
- 1/4 CupPumpkin Seeds
- 1/4 CupSunflower Seeds
- 2 Tablespoons totalFlax, hemp & chia seeds
- 2 teaspoons Coarse Salt
- 2 TablespoonsHoney
- 1 1/2 CupsWarm Water 35°
Topping
- 1 TablespoonRolled Oats
- 1 Tablespoon Pumpkin Seeds
- 1 Tablespoon Sunflower Seeds
- 1 teaspoon Flax, Hemp & Chia seeds
Method
- 1
Whisk together flour and yeast – Using a manual whisk helps to put air through the flour.
- 2
Add oats and all the seeds & the salt mix with your whisk (Do not add the salt at the same time as the flour and yeast, the salt can inhibit the develop of the yeast)
- 3
Mix the honey with the lukewarm water
- 4
Pour the water mixture over the dry ingredients, mix with a wooden spoon until it comes together, it will seem very dry but keep mixing and it will come together, DO NOT be tempted to add more liquid. I often take over with my hands as it does go faster.
- 5
In the same bowl form, some sort of a ball and wrap tightly with cling wrap. Let rest at room temperature for about 3 hours
- 6
If you have some fridge space in your galley, it would be ideal to refrigerate it over night after the 3-hour resting period, this will add some great depth of flavour. If you are unable to have the dough in the fridge, continue to bake.
- 7
The next morning…Lightly dust an oven tray with flour. Remove the dough from the fridge, using floured hands very gently re-form your ball without putting too much pressure on the dough, (The dough will now be very sticky) gently place on floured baking tray.
- 8
Mix your topping of oats and seeds and sprinkle on top of your dough you can gently press them down to help them stick. Loosely cover the dough with a dish towel and rest for 45 minutes.
- 9
Turn the oven on to 220°C and let it heat up while your dough is resting.
- 10
When it’s time to bake, with a sharp knife cut a slash into the dough about 2,5cm this helps the heat escape, and your loaf will bake better
- 11
Place in heated oven for 40 minutes or until a thermometer reads 90°C in the centre of the loaf.
- 12
If you don’t feel the top is crispy, enough give it another 5 minutes and same applies if you centre is not reaching 90°C
Galley notes
Boat challenges
- Making bread on a boat is not the same as doing it on land
- Every boat oven is very different, gas, electric, some ovens do not heat evenly, some seem hotter, and some use an omni on gas top.
- The amount of power or gas you have available will also play a role
- Every galley has different equipment and often lack of equipment
- The temperature and humidity level that you are sailing in will affect your dough
- Odds are you don’t have a stand mixer on board, so I generally don’t bother with dough that requires kneading
Basic rules
- Use a glass bowl for prep, metal could sometimes aid in de-activating the yeast for various reasons.
- Never add the salt at the same time as the yeast & flour it will re-act differently this is just science. (You can leave the salt out it will not impact the cooking process)
- Sailors often use expired items due to lack of supply or being remote or over provisioning for that matter, most of the time this is ok, but with bread your yeast should be within its dates, if not well too bad use it don’t throw it, believe me you will still eat the bread 😂 even if the yeast does not activate well.
- Use a thermometer to check bread temperature this will help with understanding your ovens cooking time.
- Perfect bread recipes will require that you weigh your ingredients even the water, well this does not work at sea so work with cups.
- If you have a perfect bread recipe that you must weigh everything including the water, make it on land and measure every weight to cups so that you can use this at sea.
How ingredients behave
- Due to unusual conditions dough behaves differently at sea, if you are new to bread making at sea, your first try should be stick to the original recipe no matter which one you choose, so you can see what goes wrong and unfortunately things will go wrong out here, you will learn every time, maybe more or less cooking time, maybe an extra teaspoon of liquid.
- Humidity or lack thereof will affect your dough, but once you know how it should feel and look you will be able to rectify before baking
- Make notes on what you did every time and what you would do differently next time, after the second or third attempt you will get it right.